This is an easy way to make clay jewelry bowls for kids! Your kids can have something to do with their hands, and can provide a way to organize some of the extra items in their room! This can be used to store small items like legos, jewelry, marbles and more. They can even give one to a friend or relative who will appreciate this homemade gift.

This site contains affiliate links to products. I may receive a commission for purchases made through these links at no extra cost to you.
Before I made this craft, I had too many rings and necklaces laying around. Now that I made these easy and fun bowls, I have ways to store my jewelry!
Your kids will love this project. They can roll out the clay like worms, and shape the leftover clay. It can even be an awesome birthday or Christmas present. Children of all ages will be able to do this, but younger kids might need assistance.
Supplies you will need:
Clay jewelry dish kit– for your clay and other needed supplies.
Small glass bowl- whatever shape you desire for shaping the clay before baking.
Directions to make the clay bowl:
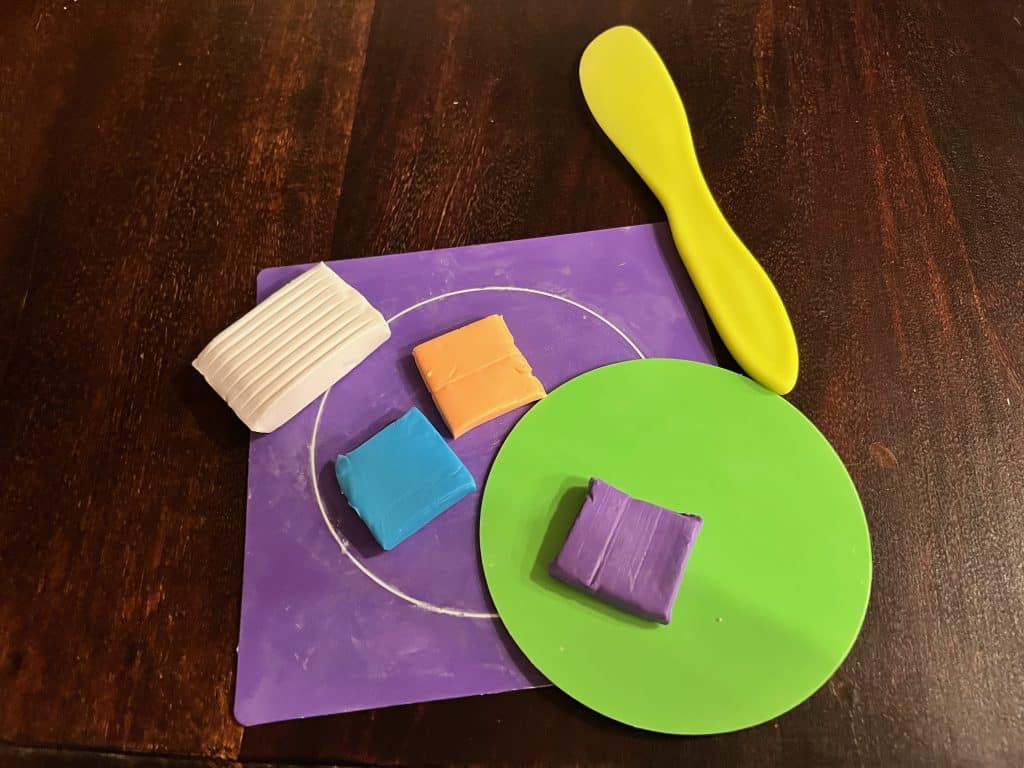
First, unwrap three colors of clay and a white portion of clay. Get out the plastic knife and the cutting board with a circle on it (included in kit). Place the clay on the cutting board.
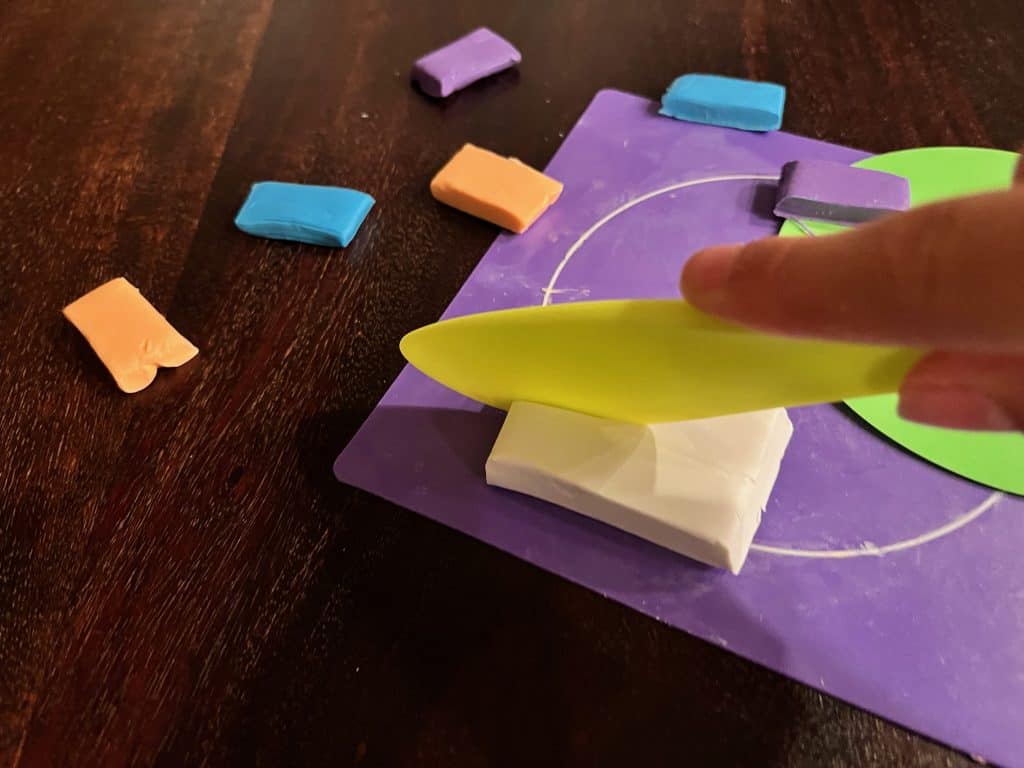
Next, cut each piece of colored clay in half. You should have two pieces of each colored piece you chose. Now cut the white piece into six pieces. NOTE: DO NOT FOLLOW THE LINES ON THE CLAY OR YOU WILL HAVE TOO MANY PIECES. You might need to assist younger children here. Now there should be six white and six colored pieces. Here is where kids can get to have fun. Roll each piece of clay into a foot long strand-it doesn’t need to be perfect. Pile the strands on top of one another lengthwise.
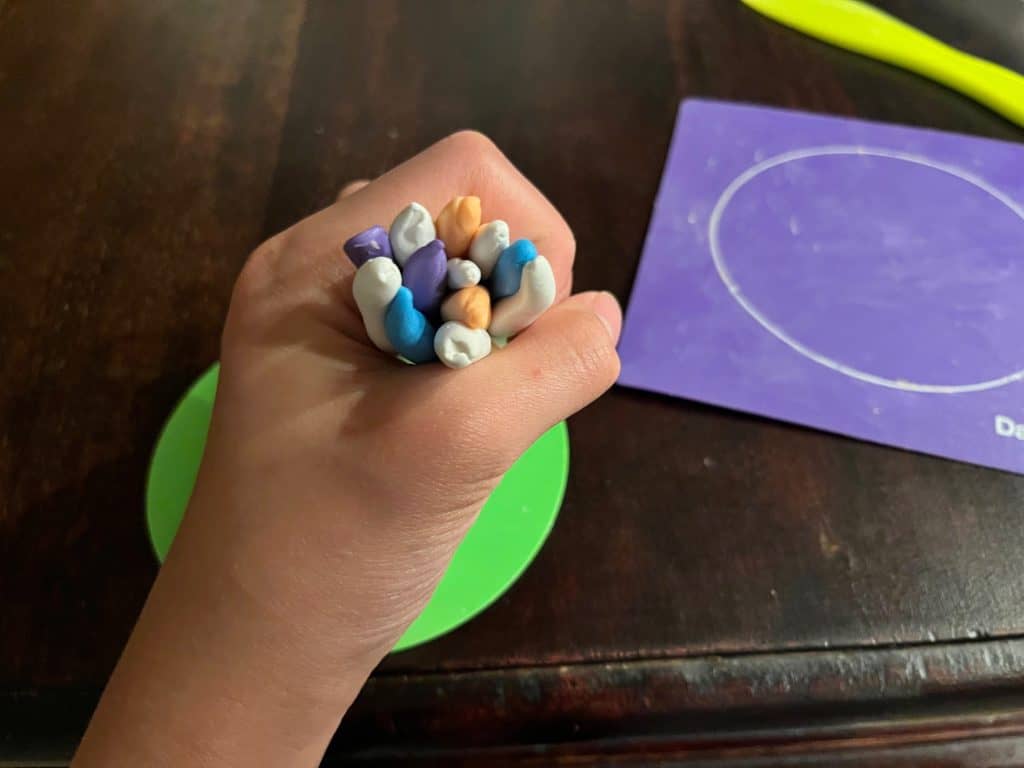
Gather them in your hand and start rolling them into one long, wide rope.

It should now look like this. Fold it in half and roll some more. Keep doing this until it looks smooth and the colors are somewhat blended. Now you can roll the clay into a sphere. Get out the rolling pin and circle stencil which is included in kit. Place the clay onto the cutting board.
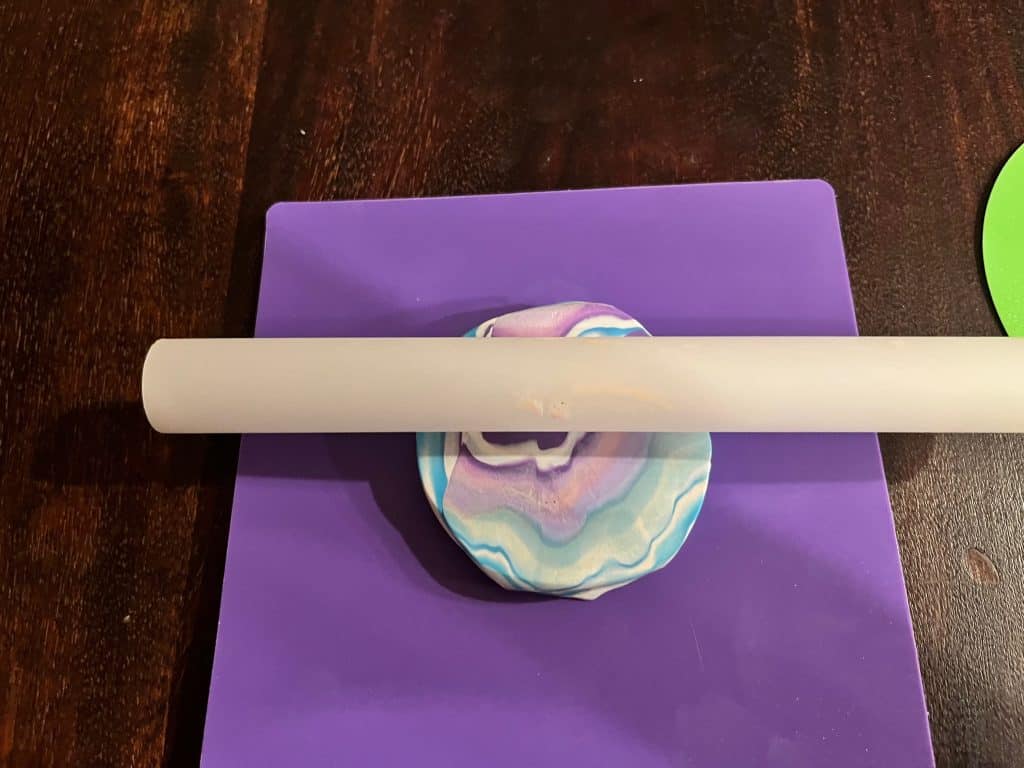
Now, roll out the clay to fit the white circle on the cutting board. Place circle stencil on top of clay.
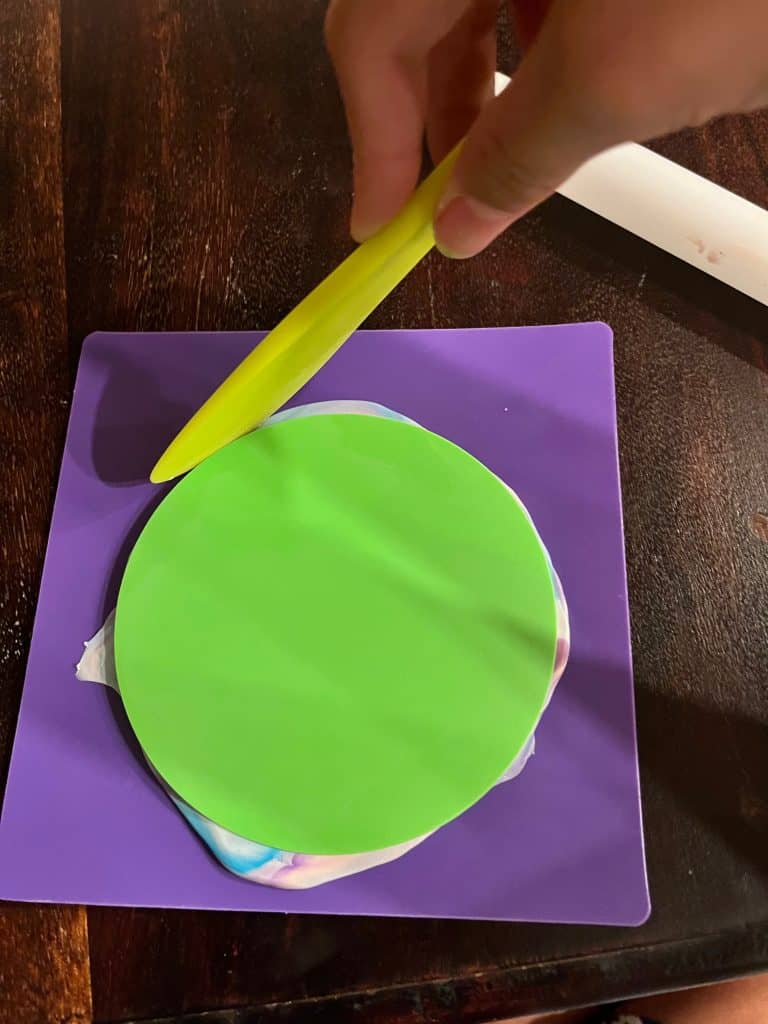
Use the knife to cut around the stencil. Take off the stencil and peel off the clay.
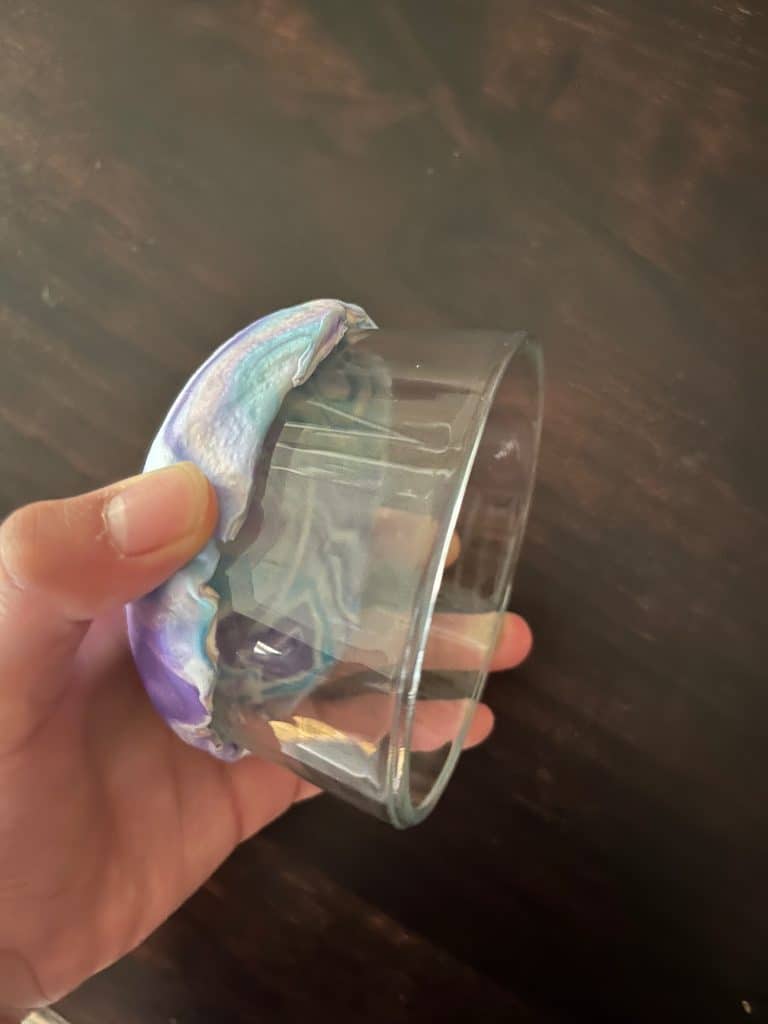
Mold clay onto a small glass bowl keeping in mind that you want the prettier side touching the bowl. Preheat oven to 275˚. After the oven is preheated, slip the glass bowl with clay in for 15 minutes. When the time is up, turn off the oven and let the bowl sit in the oven for 15 minutes. Take out, carefully peel off the bowl and display! Your bowl should be firm and feel like hard rubber.
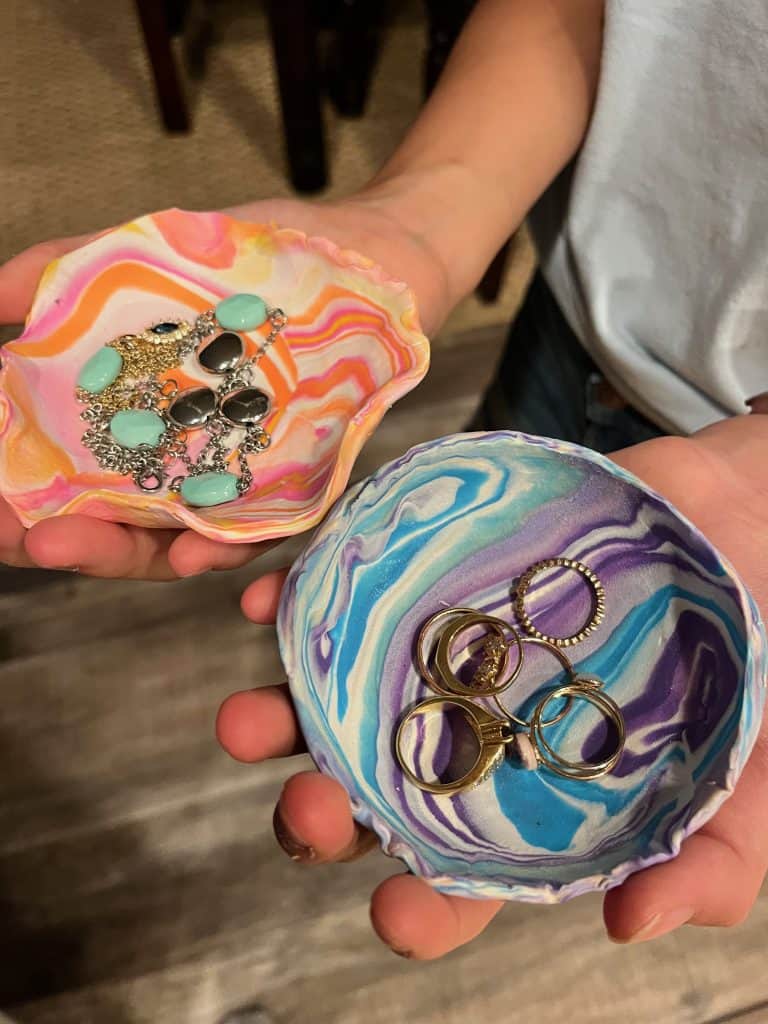
Now you can put small items in your clay bowls!