This site contains affiliate links to products. I may receive a commission for purchases made through these links at no extra cost to you.
Origami Place Cards for Kids are fun to make, and useful too! You can make these for a kid’s party and let the kid-of-honor choose where to put his/her friends. All of the crafts in the picture above were mostly made out of the same square pieces of paper! You can make any origami craft with instructions, and one piece of paper. I bought some origami paper from Amazon, and I made multiple crafts out of the same size paper. The good thing with paper is you can reuse it if you don’t mind the wrinkles in it. If it is a more complicated project, I’d suggest you use a new piece, though. This post shows how to make a sailboat and a crown place card. Email kristen@frugalhealthyhome.com with more ideas or designs.
What you will need:
Origami paper– This paper is colored on one side, and white on the other, which makes it perfect for origami projects. Plus, this paper is pre-cut into squares, and most projects require squares. Let’s face it, most of us can’t cut straight, so this paper is PERFECT. If you see a craft where there is only one color showing, use regular printer paper.
How to Make a Sailboat Place Card:

Fold a preliminary base. Make sure that your outside color is the one you want for your hull. That is the place that the name is going. Also, lay it so it is flat and the closed end is toward you.

Pull down the front piece of paper. Tuck the corner into the back of the front flap. The top of the flap should now be behind the bottom of the flap.

Fold ONE flap, in the middle, down to meet the bottom corner. Now, fold it up, but make sure that the tip is about a half inch from the other flap tip.
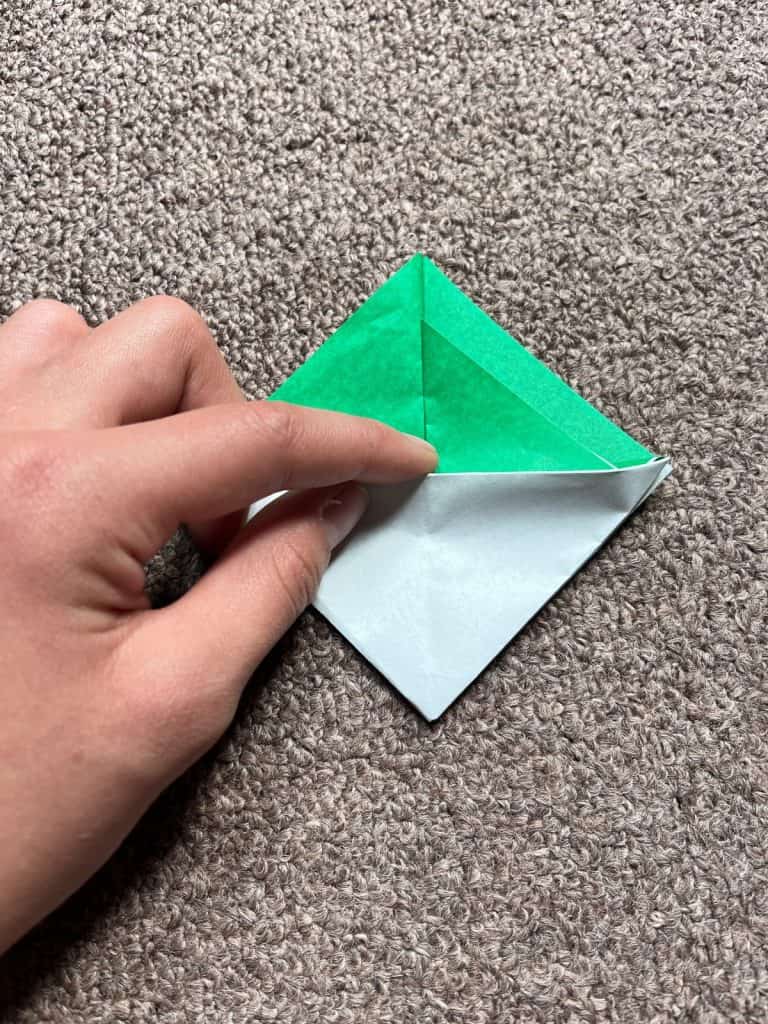
Gently, fold the extra paper into the ‘pocket’. Now, both middle flaps should be in the ‘pocket’, with one flap slightly lower than the other.

Flip it over, and neatly write the guest’s name on the hull.

Flip it over again and fold the bottom to meet the middle of the horizontal line. This makes it so that the sailboat can stand up unassisted.

Put the place card anywhere on the placemat to label where you would like your guests.
How to Make a Crown Place Card:

Blintz fold a square of paper. The predominant color should face down.
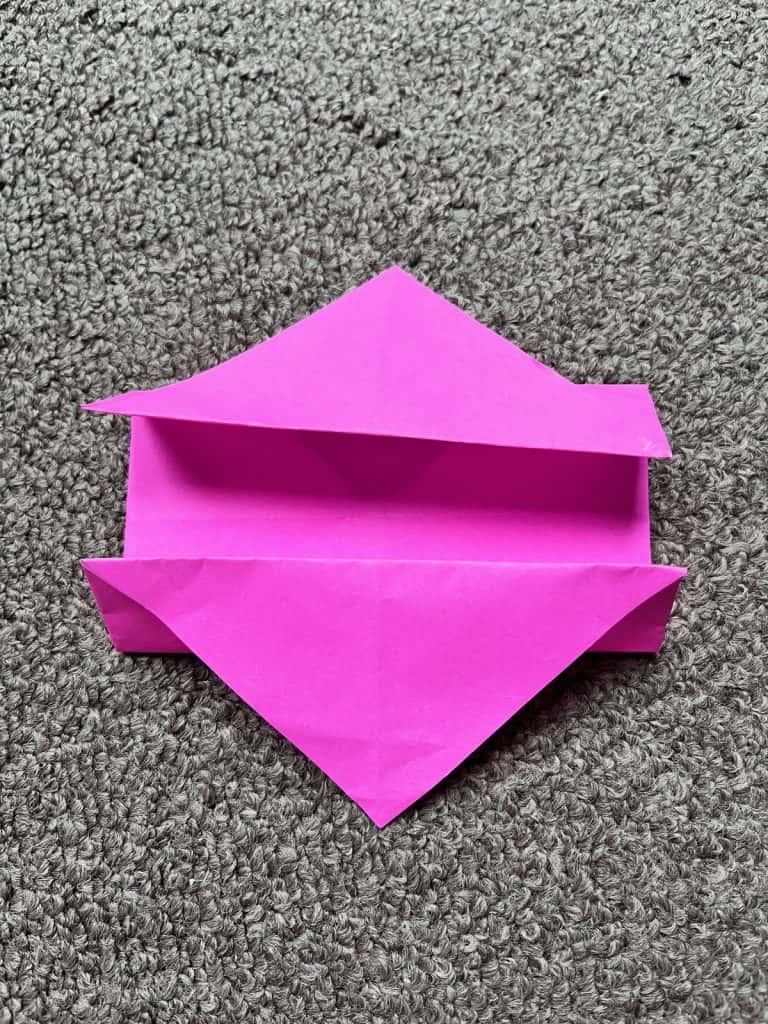
Turn over the paper, and fold the opposite edges to the horizontal line. Let the blitz flaps follow the fold, making them “drape” out of the folds.
Lift up the pointy flaps. You will notice two triangles on each side. Fold the triangles up as comfortably as they will go. Put down the pointy flaps. Make sure you do this on BOTH sides.

You should now notice a line running horizontally in the middle. Put your fingers in the edges, and pull apart, making a pocket.

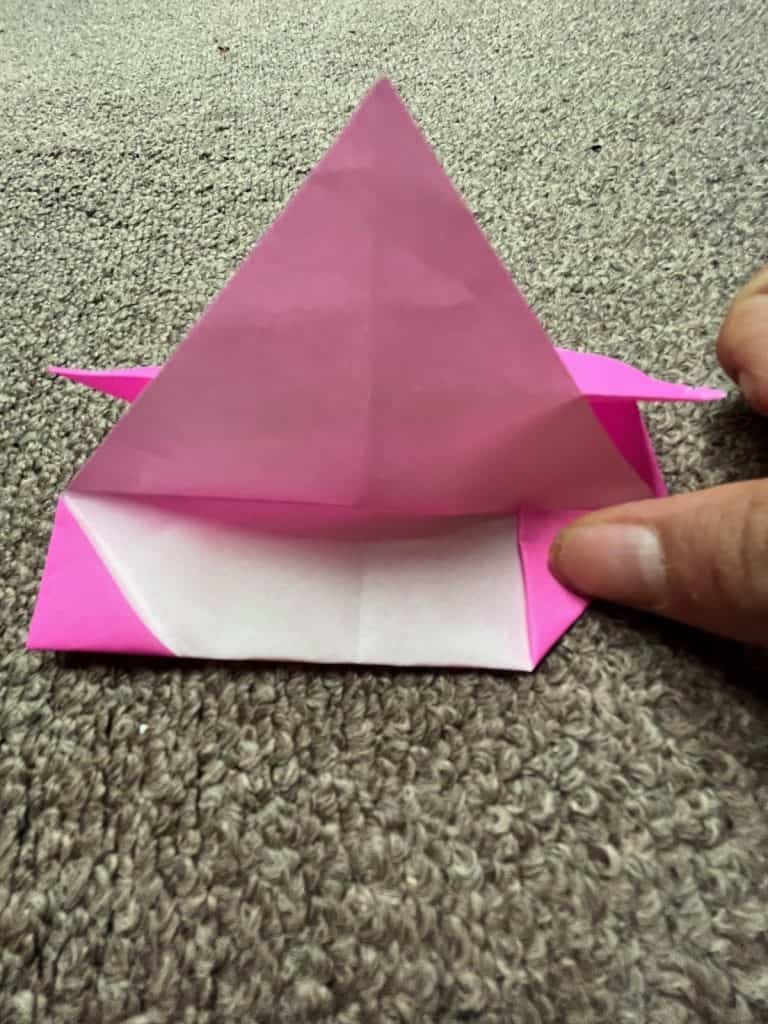
Turn over. Start forming a flat ‘platform’ in the middle while pointing the points of the crown.

Crease the corners to make it look correct. Stand it up straight.

Write the kid’s name on it. Put it on the upper left corner of the placemat.