This site contains affiliate links to products. I may receive a commission for purchases made through these links at no extra cost to you.
If you’re wanting to make some health changes for your family, learning how to make homemade wheat bread is a wonderful place to start. This is the very first thing I did as I started learning about eating real food. After two decades of bread making, I’ve learned many things over the years that I hope will help you on your journey.
Best Type of Flour for Homemade Wheat Bread
The most important thing to note for health is the importance of using whole wheat. Using whole wheat from the store is just not going to give you the same nutrients as grinding your wheat fresh. There are several types of wheat berries you can purchase that will give you wonderful results. These are hard red wheat, hard white wheat, spelt, and Einkorn. You don’t want to use any type of soft wheat for a yeast bread as it will not rise properly.
Cost of Making Homemade Wheat Bread
My frugal nature is what keeps me making bread, aside from all the wonderful health benefits! It’s difficult to figure the exact cost for each item because everything is bought in bulk. A forty-three pound bucket of hard white wheat is $130 which is $3.02 per pound. I use a bit over one pound of wheat kernels for my two loaf recipe, which comes out to about $1.85 a loaf. The small amount of honey, olive oil, salt, and yeast total less than $1.00. So for less than $3.00 I have a delicious and nutrient-filled loaf of bread with five ingredients (not counting water), all of which I can pronounce, with nothing bad for my family’s health!
How Long Will Homemade Wheat Bread Keep?
If you’re used to purchasing store-bought bread that can hang out in your pantry for weeks at a time, having homemade bread on hand will be a learning curve. How does purchased bread stay soft for so long in an unaltered state? Let’s make a little list of added preservatives, enhancers, and dough conditioners found in every store-bought bread. Note that these aren’t ALL in one loaf, but they sure let you know right on the label that it can be any combination of the following:
- Sodium Stearoyl Lactylate
- Calcium Stearoyl Lacylate
- Monoglycerides
- Distilled Monoglycerides
- Lalcium Peroxide
- Calcium Iodate
- Datem
- Ethoxylated Mono- and Diglycerides
- Enzymes
- Ascorbic Acid
Whew! Not sure about you, but that took me back to chemistry class! I’m betting that you feel you and your family deserve something that doesn’t read like a science experiment. Making bread that contains six ingredients or less is much more healthy and rewarding. Because homemade bread lacks any type of preservative, it tends to dry out after about 3 days at room temperature. You never want to store your bread in the refrigerator because it will dry it out very quickly and cause it to be a stale texture. If you find you can only get through about half a loaf before it gets dry, you can cut your loaf in half after baking and cooling, and freeze the other half. Alternatively, you can also use up the rest for toast or breadcrumbs.
Best Way to Knead Homemade Wheat Dough
Unless you’re super buff, kneading whole wheat dough is quite the workout! Using a tool to help with the hard work comes in handy! I started my journey with a bread maker that I happened to own anyway. The paddle mark always drove me crazy so I used the machine to do the mixing and kneading for me, then transferred the dough to a bread pan to rise then bake. The benefit of a bread maker is the price point if you’re on a budget. You can easily find them used, or get a basic one like this.
The downside of a bread maker (aside from the paddle) is the size. With my growing family, I preferred a recipe that made two loaves at a time (like I’m going to share with you below!). So I made the plunge and purchased this Kitchen Aid mixer. I appreciated that I could use it for multiple things, and had the ability to use so many attachments if needed. Honestly at the time, it was all I knew existed with a powerful motor. In truth, whole wheat dough can sometimes be dense enough to strain the motor even of this fancy mixer. They tend to last me 8-10 years which is fine, but I have my eyes on something even better! Because I’m frugal, I won’t purchase anything else until this one burns out, but the ultimate mixer in bread making is a Bosch mixer. Funny enough, it’s cheaper than the Kitchen Aid! One of these days, it will be in my kitchen!
Ingredients You Will Need
- Hard white wheat berries or other grain of your choice. See my post on how to grind wheat into flour for a breakdown of the different types of ancient wheat for bread.
- Olive oil: It’s best to use extra virgin olive oil, but because of its low smoke point, you only want to use it raw or with low heat. This application is fine because the oven will only be set at 350, and baking doesn’t subject it to direct heat like it would in a skillet.
- Honey: I know people that only use raw honey, but my frugal nature has an argument for this one! According to many bee keeping experts, including Beekeepclub, raw honey should not be heated above 98 degrees. The beneficial nutrients and enzymes are killed off once heated beyond 98 degrees, and an oven at 350 for sure qualifies! I prefer to use raw honey in things that will not be heated or cooked. I use regular old honey for cooking or baking purposes since it’s quite a bit cheaper than raw honey.
- Yeast: I avoid any product that is “instant” and yeast is no exception. There is always something done to a convenience product to make it quicker or easier to work with. For instant yeast, the granules are made smaller, but in addition, there are added enzymes and additives. For this reason, I prefer regular yeast, labeled active yeast.
- Salt: Redmond Sea Salt is a very reputable and clean brand, but you can also use a healthy pink Himalayan salt. Just be sure to avoid “table salt,” not only in your bread but in all applications.
Step by Step Instructions for Making Homemade Wheat Bread

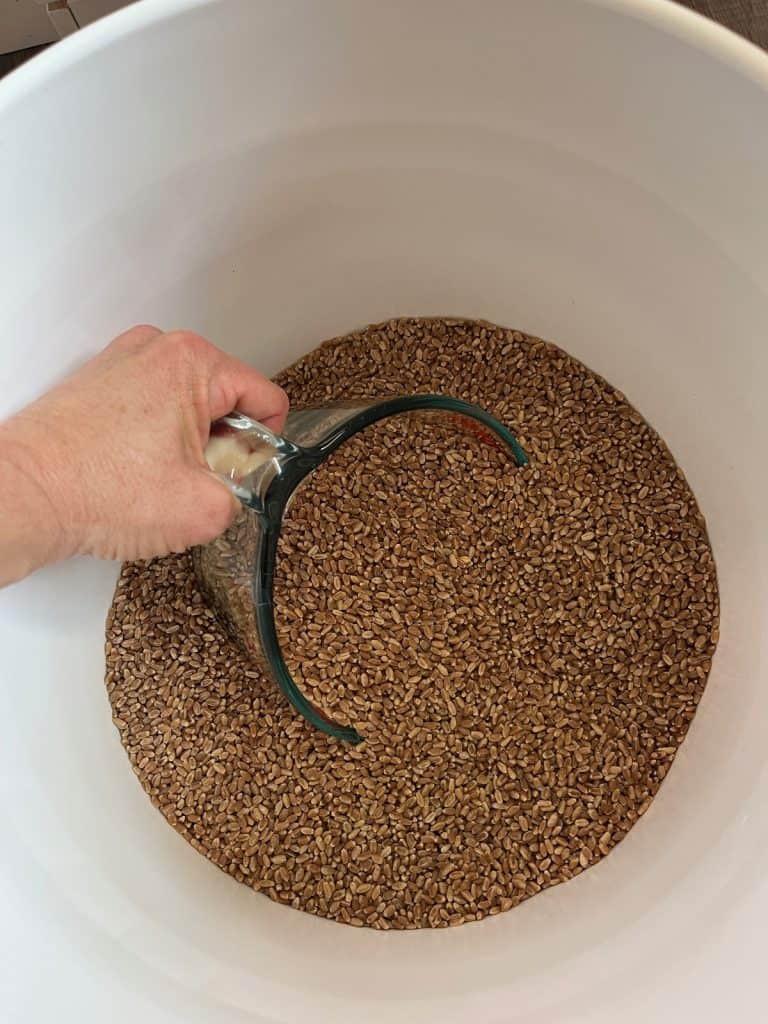
For this recipe, which makes two loaves, you will need 4 cups of hard white or red wheat, which yields 7 cups of flour. The picture above shows hard red wheat, which is not my preference. I ordered from a co-op on my last order that didn’t have hard white, but I feel my bread “cooperates” better with white for some reason! Grind your wheat in your grain mill.

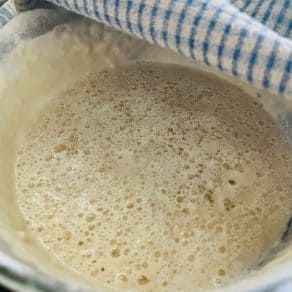
In my almost two decades of bread making, I had a lot of hit-or-miss results! Making a “sponge” has produced much more reliable results. To do this, you will mix your warm water, honey, yeast, and 4 cups of your flour. This process allows a “pre-fermentation” for the yeast and has produced a more consistent rise for me. Allow the sponge to rest for 30 minutes. The picture above is what it will look like- it will have doubled in size and you will see yeast bubbles.

To the sponge, add the remaining 2 1/2 cups flour, honey and salt. Mix until the dough has come together and stays in a ball shape. At this point, you will want to allow your mixer to knead exactly 5 minutes. It should resemble the picture above- you want it to be just slightly sticky.

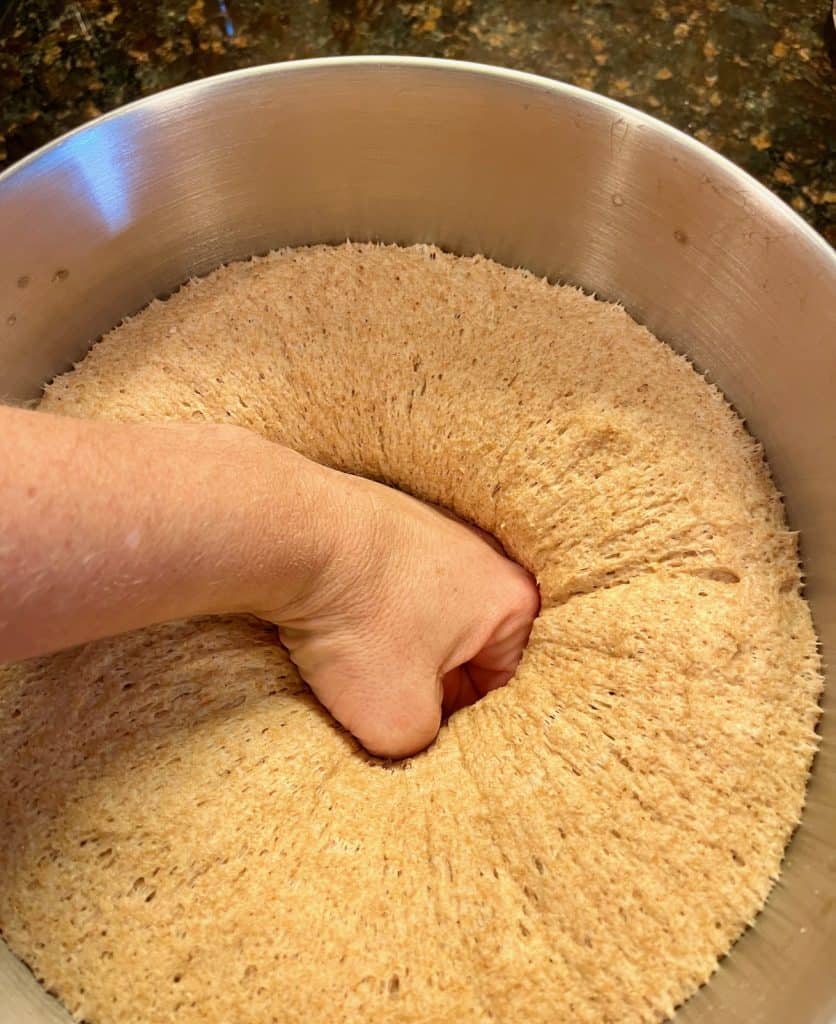
Place the dough in a warm oven for first rise, covering the bowl with a towel. This will take anywhere from 30-60 minutes. It should be about tripled in size from when you began the rise. Punch down your dough (always the part my kids have wanted to help with!) and place on a lightly floured surface. Divide the dough into two equal parts.
You will want to tightly roll each loaf to get out all air formed by the yeast. Otherwise you will have a beautiful tunnel right through your bread- fun for the kids, not so great for sandwiches. Do this rolling and tucking both directions, then form into a loaf shape and place into two bread pans. I have had these Pampered Chef stoneware pans for about 15 years and prefer them because there’s no yucky non-stick coating full of chemicals going into my bread.

Your loaves should look similar to the picture above. Place again in a warm oven, covered with a towel for the second rise. This will again take anywhere from 30-60 minutes. You will know they are happy when you see two beautiful hills rising into the towel!

This is about the height you want after the second rise. They will rise a bit more during baking. Bake at 350 for 30 minutes. Remove from oven and transfer bread loaves from loaf pans onto a cooling rack. It only took me one time of leaving the bread in the pans to cool to realize that soaking wet bread is not what I’m after! Remove promptly.

Bread baking is one of the most divine smells you can imagine! Fight the temptation to immediately cut into it for a delicious piece! It will need to cool for at least 30 minutes or it will fall apart when you cut it. You will need a good bread knife to cut your bread. They are long and serrated which yield perfect slices-assuming you cut in a straighter line than me. Many lopsided sandwiches have been served in my house! But boy, they taste good- enjoy!
Homemade Whole Wheat Bread
Ingredients
- 7 cups whole wheat flour freshly ground preferred
- 2 cups warm water
- 1/4 cup honey
- 2 Tbs active yeast
- 1/4 cup olive oil
- 2 tsp salt
Instructions
- To make sponge, combine warm water, honey, yeast, and 4 cups of the whole wheat flour in mixer bowl. Mix until a soggy dough is formed. Let stand covered, at room temperature for 30 minutes.
- Sponge should be doubled in size and slightly bubbly. To sponge, add oil, salt, and about 2 1/2 cups of remaining whole wheat flour. Allow mixer to incorporate all ingredients, and when dough pulls away from side of bowl, begin timer for kneading stage. If dough is sticky and not pulling away, add remaining flour, one tablespoon at a time until desired consistency. Knead for 5 minutes. Dough should look elastic with just slight bit of sticky texture.
- Place in warm oven, covered with towel, for 30-60 minutes for first rise. Dough should be about triple in size.
- Punch down dough and place on floured surface. Divide into two loaves. For each loaf, fold dough over tightly both directions to remove any gas bubbles, then shape into loaf.
- Place in greased bread pans, and place back in warm oven for second rise, 30-60 minutes. When bread is rounded and above edge of pan, remove from oven and preheat to 350.
- Bake bread at 350 for 30 minutes. Remove bread from loaf pans and allow to cool on cooling rack for at least 30 minutes before slicing.

