This site contains affiliate links to products. I may receive a commission for purchases made through these links at no extra cost to you.
These easy origami ornaments are really fun to make. Your kids can do all of the parts but may need some help on one spot. When you make one section, you can hang it up alone to look like a diamond if you don’t want to do the whole ornament.
Supplies:
Squares of paper – duo colored paper or printer paper (I frugally used pieces from my day-by-day tear-off calendar)
Clear tape
Double-sided tape (optional)
Brown/black yarn or twine
How to make your Easy Origami Ornaments:
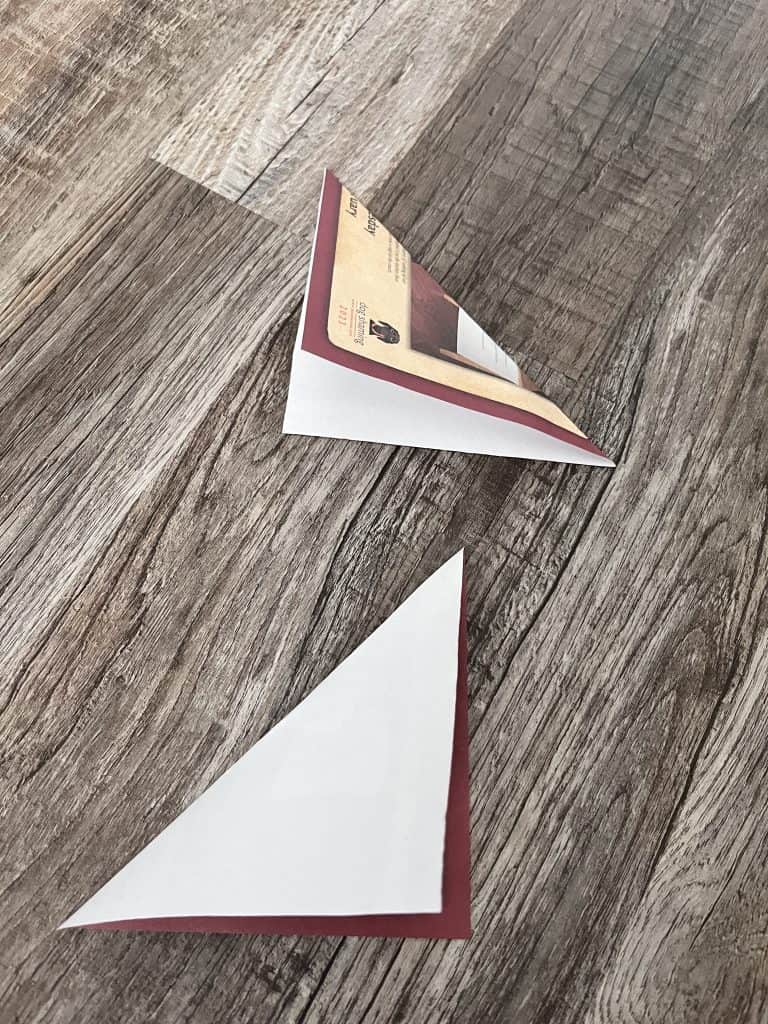
Fold from corner to corner two squares of paper. (NOTE: However wide/long your SQUARES are, that is how long one section of the ornament is. Double the length, and that’s the diameter the whole ornament is. Also, if you have duo paper, start with differents colors up). Then fold the other corners together. There should now be a X from corner to corner.
Next, flip over both pieces of paper. Fold the pieces in half one way and then the next. There should be creases coming from the middle and corners of the paper.
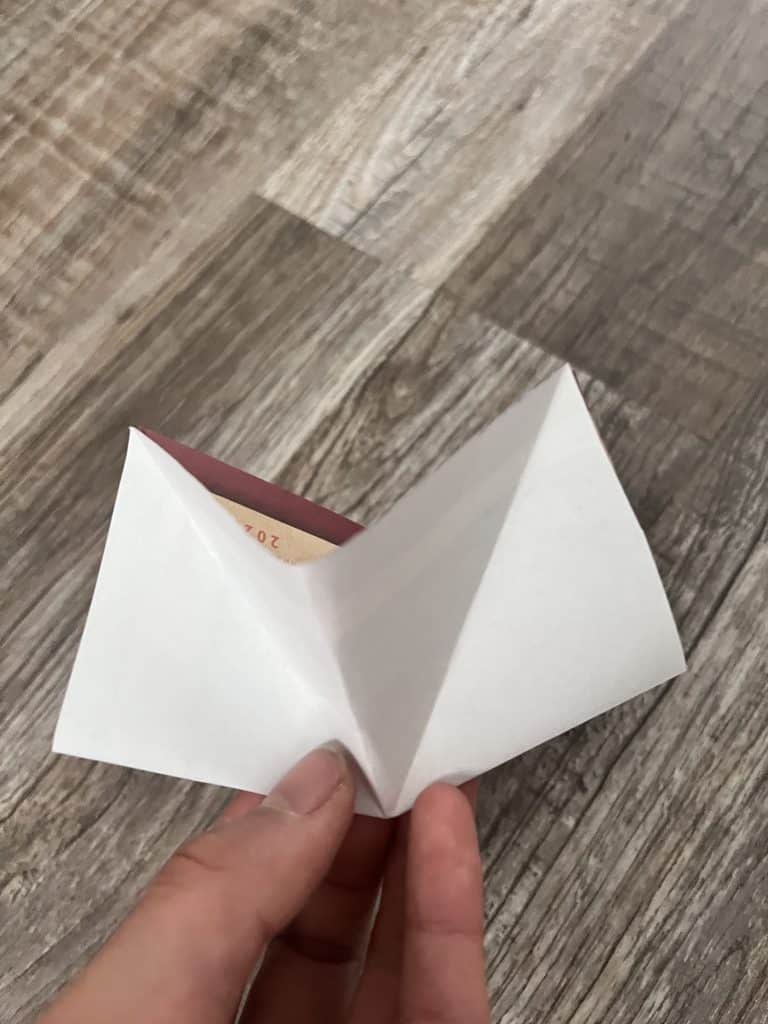
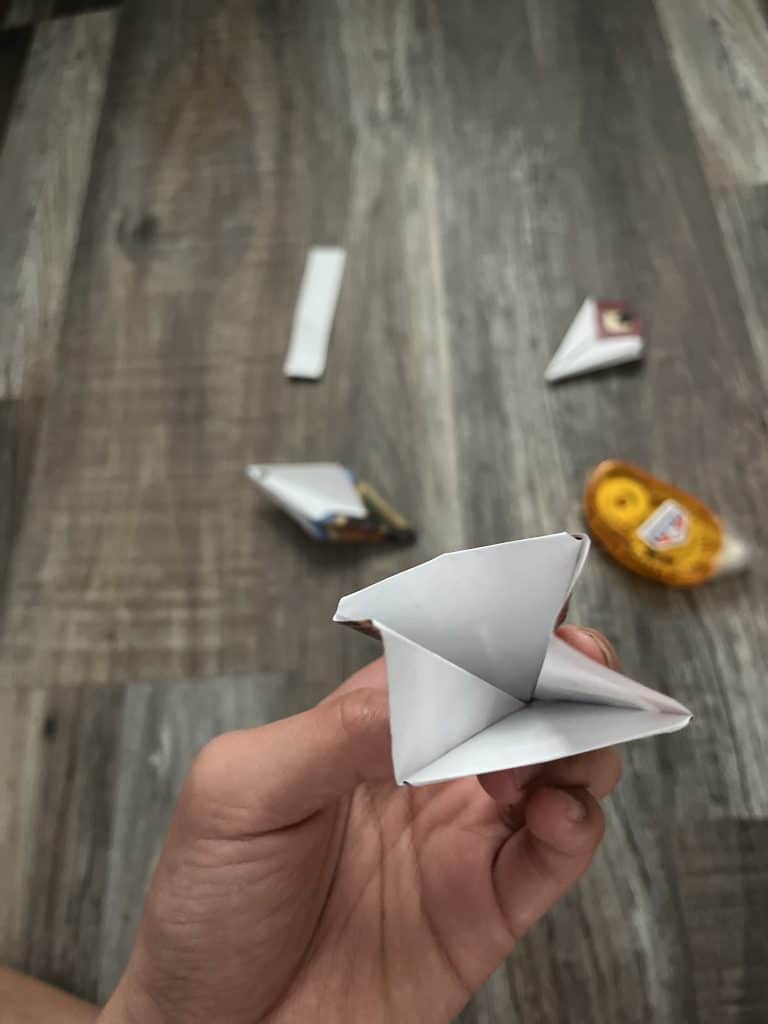
Now, with it folded in half, gently squeeze in and then it should look like this:
Next, flatten them out. (Also, making sure that one piece is one color while the other is a different color if using duo paper.)
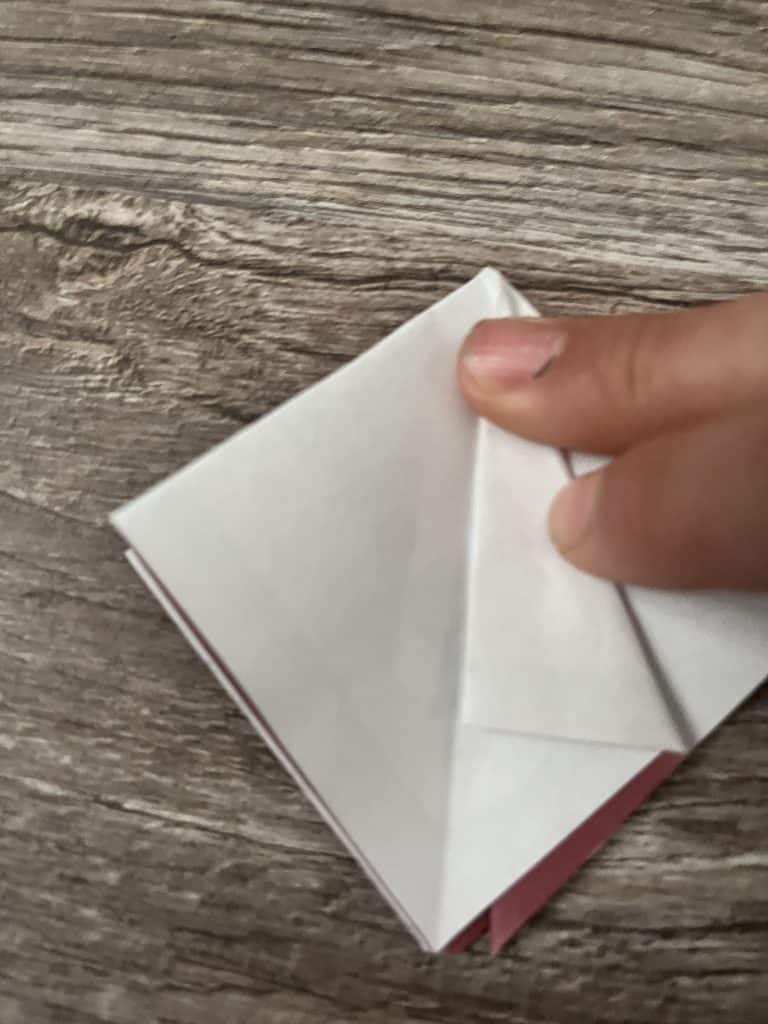
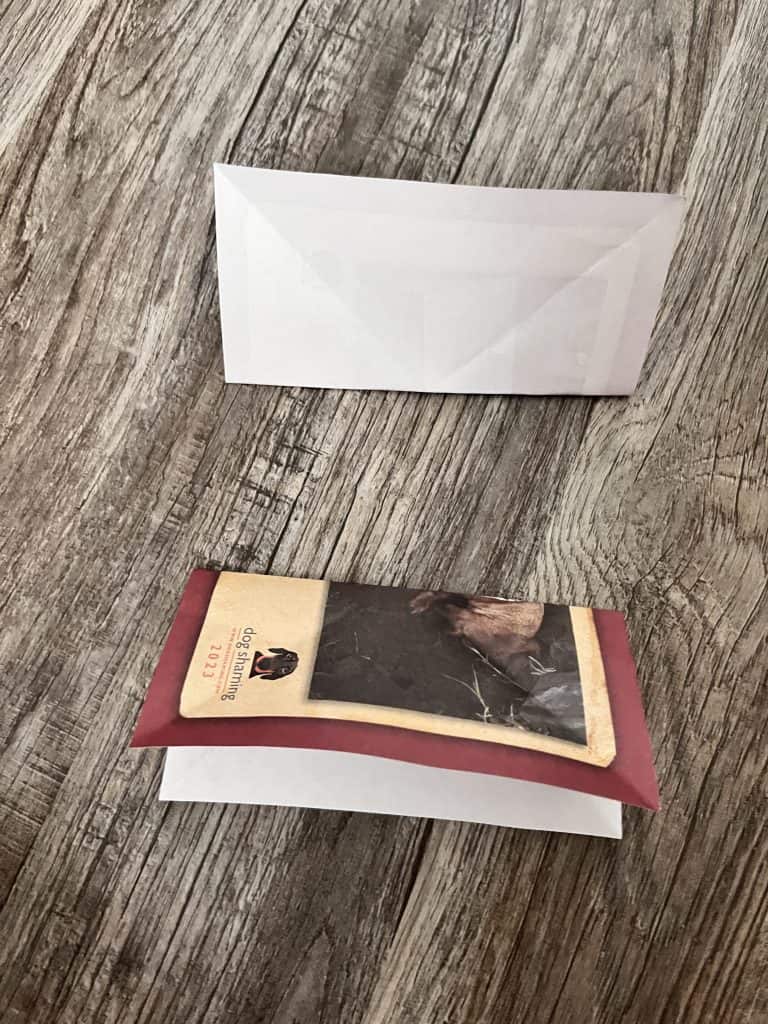
Starting on the right side, fold in, (one layer only!) to meet the crease in the middle. Repeat on the left side.
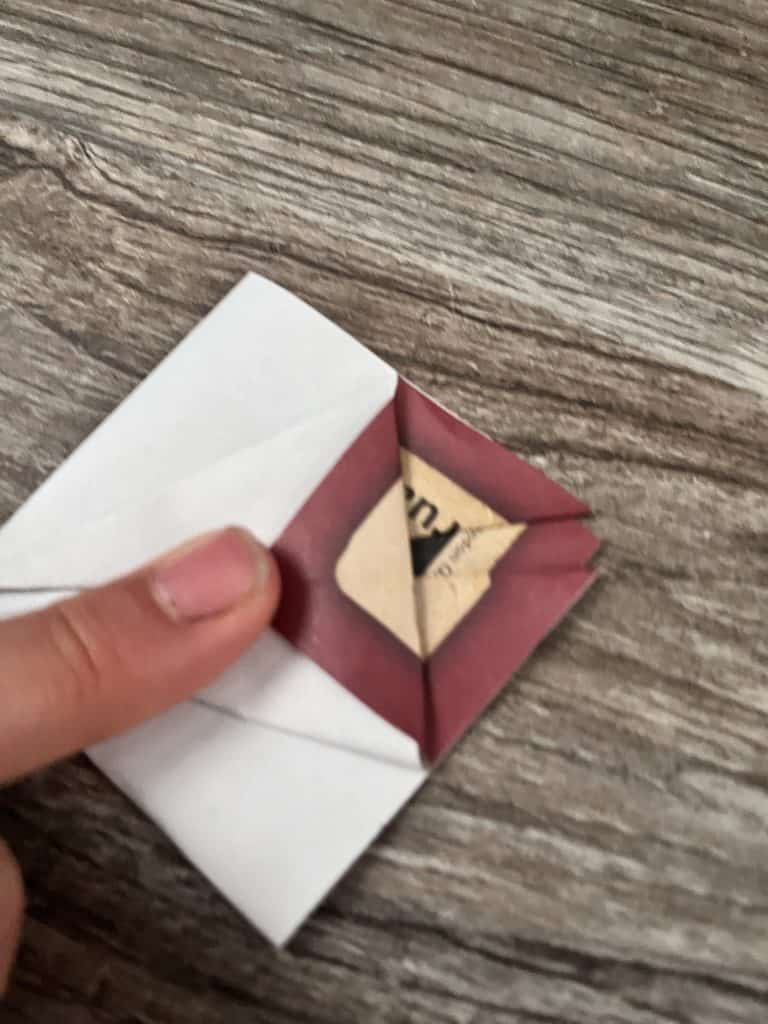
Next, fold up the ‘triangle’ as far as it will go comfortably. You can use double-sided tape to make it stay down. Repeat on the back and on the other piece of paper.
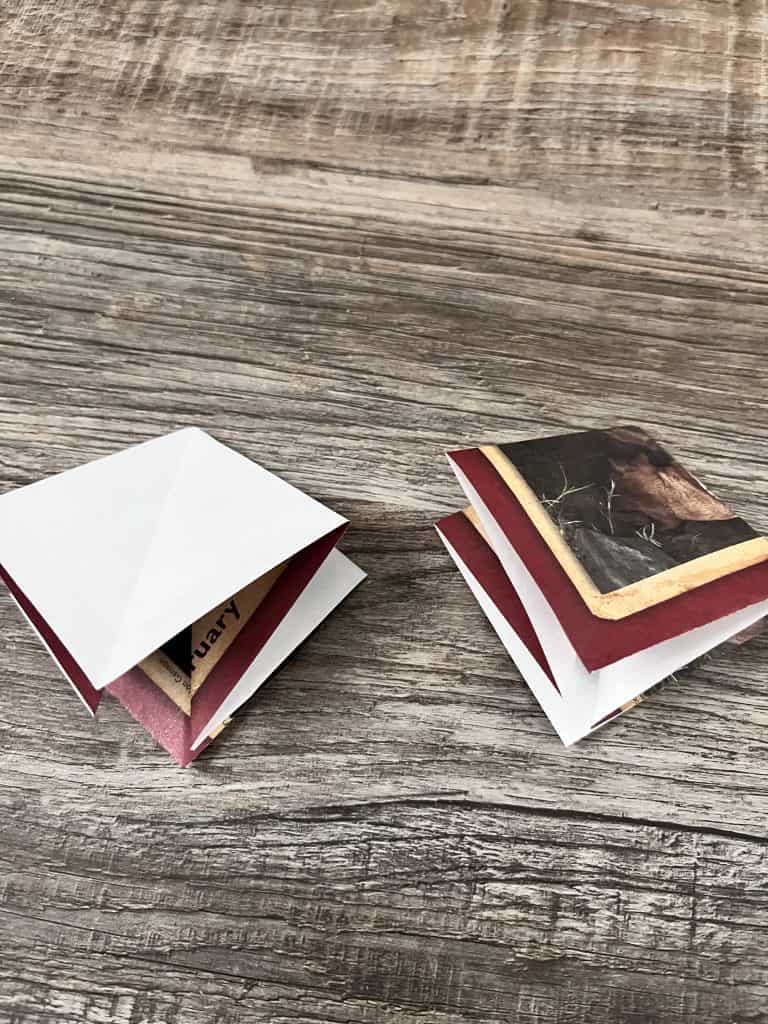
It should now look like the picture above.
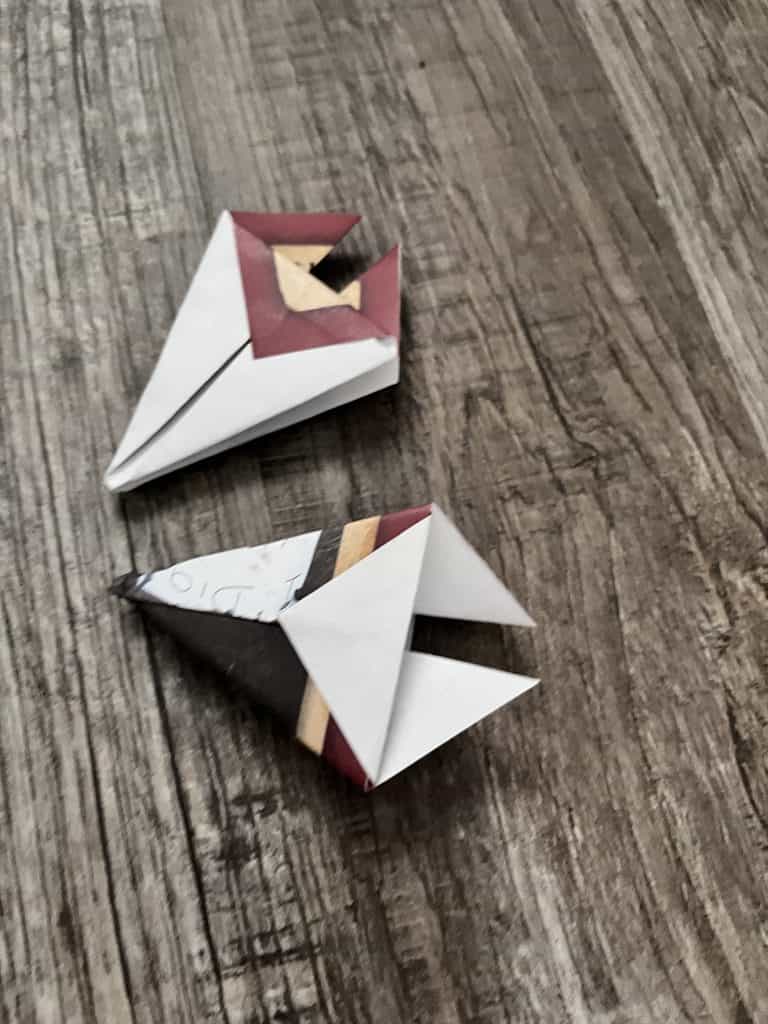
Open up each piece so you can see the inside.
Working gently, interlock the pieces so that a point goes behind a ‘triangle’. Adults might need to help on this step and the next.
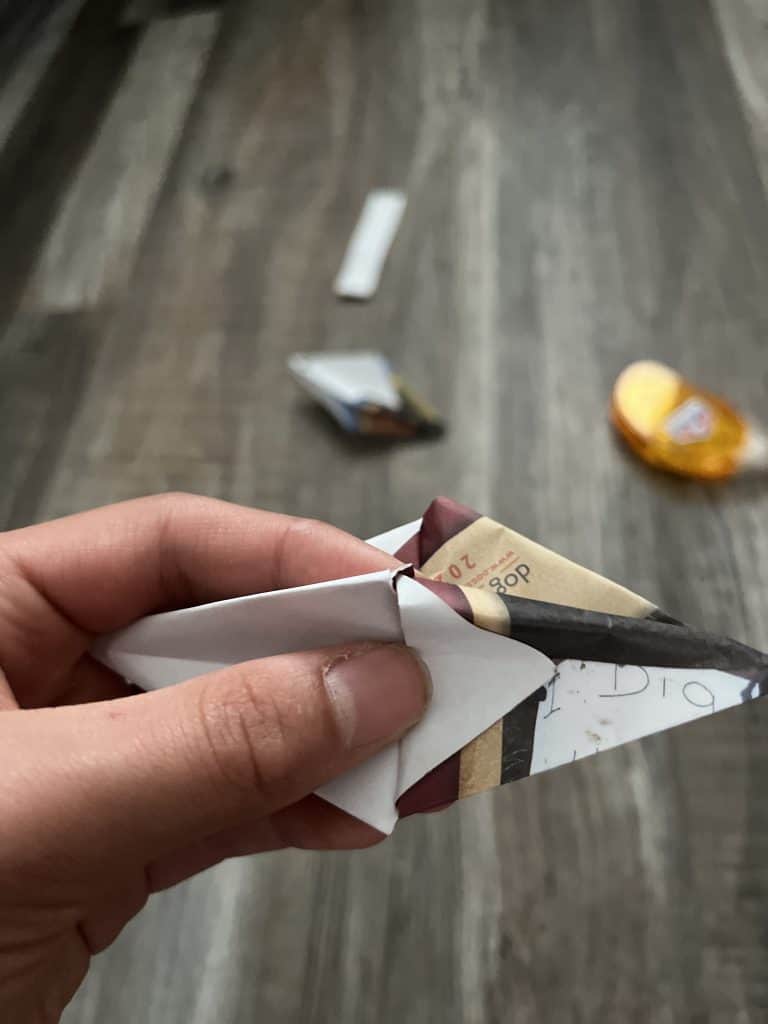
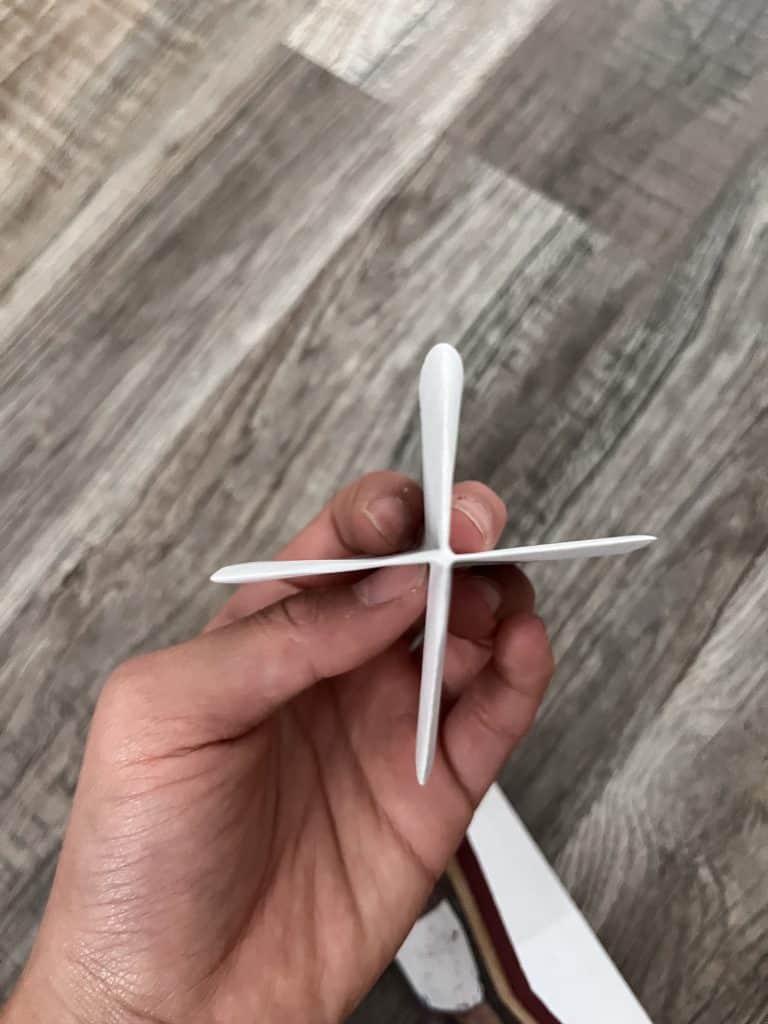
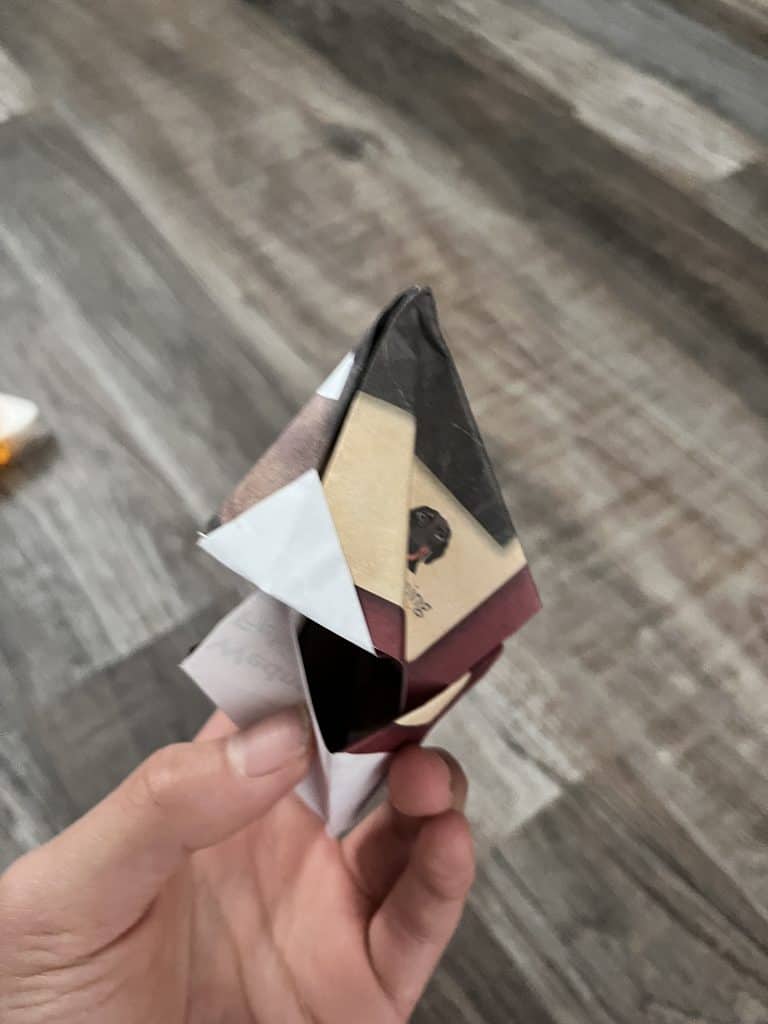
Squeeze the pieces together by putting a finger on each side of each piece. Gently squeeze inward and push together.
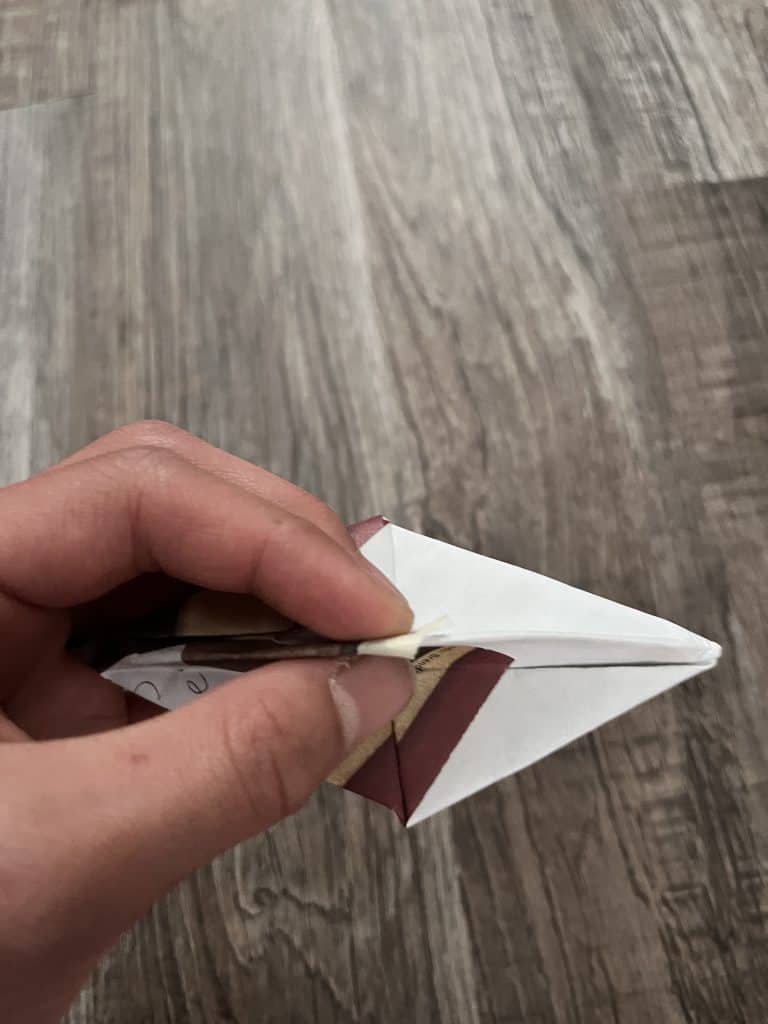
Tape the corners so this section cannot fall apart.
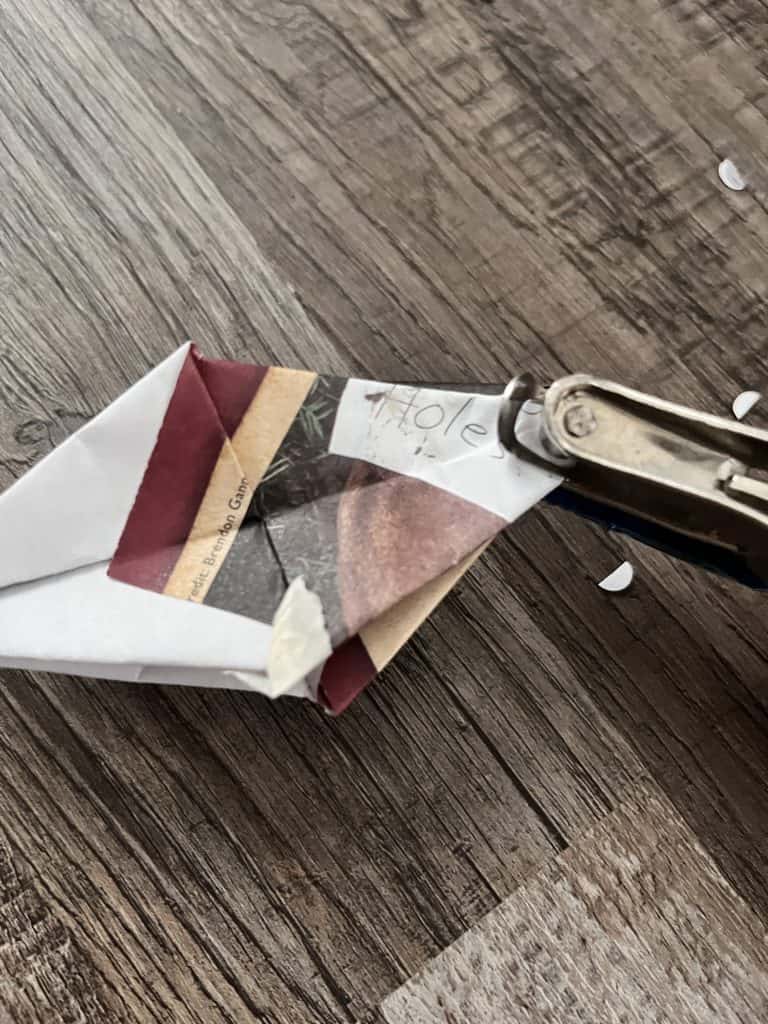
Using a hole puncher, punch a hole into one corner. (MAKE SURE IT GOES THROUGH BOTH LAYERS AND THE HOLE IS ALL ON THE PAPER!).
Assembling the Easy Origami Ornaments:
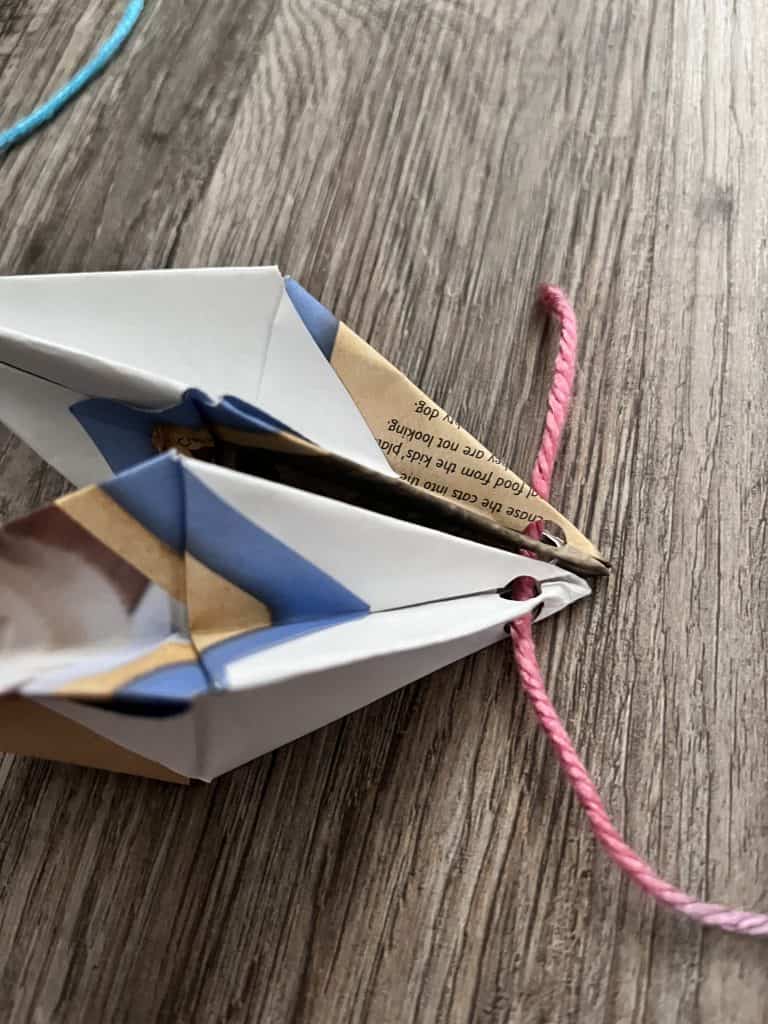
Make 12-14 more sections, depending on how big you would like it. Now, start stringing the sections onto the yarn. (The twine is more for hanging but you can use it for this step as well). If you just want the one section hanging up, tie some string into a loop in the hole. If you are using duo paper, try stringing it to make it alternate in colors. When you get finished stringing on all the sections, tie it off and trim the strings to an inch.

Now start taping the sections together. Do not skip this step. If you don’t do this, your ornament falls over when you try to hang it.
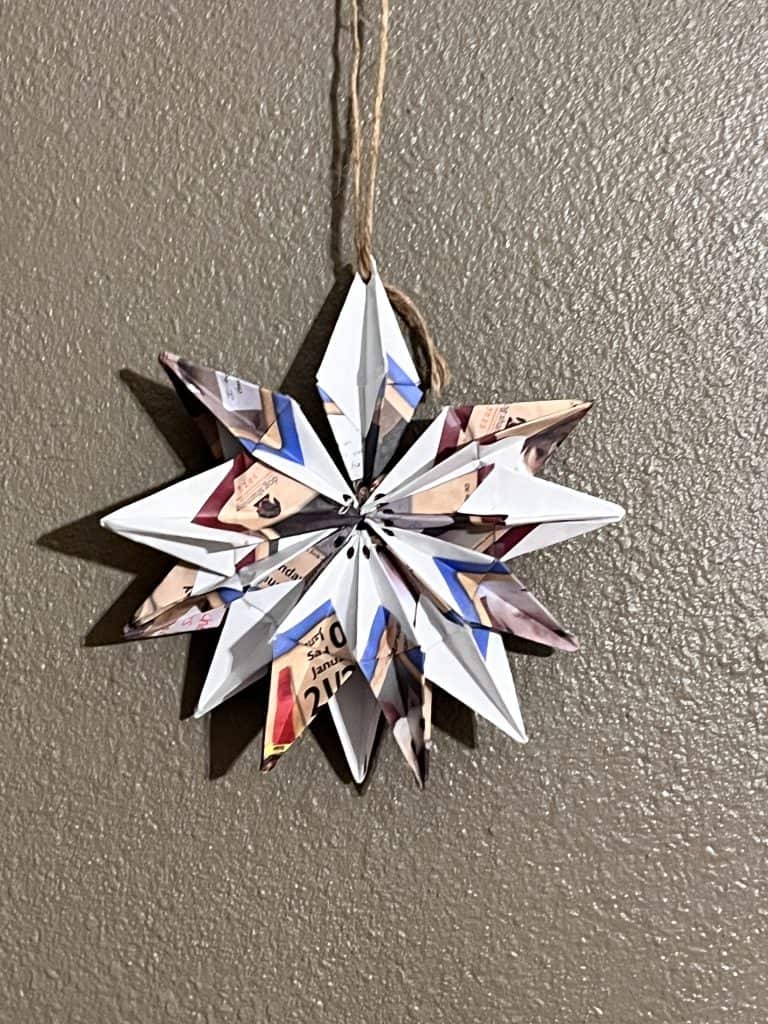
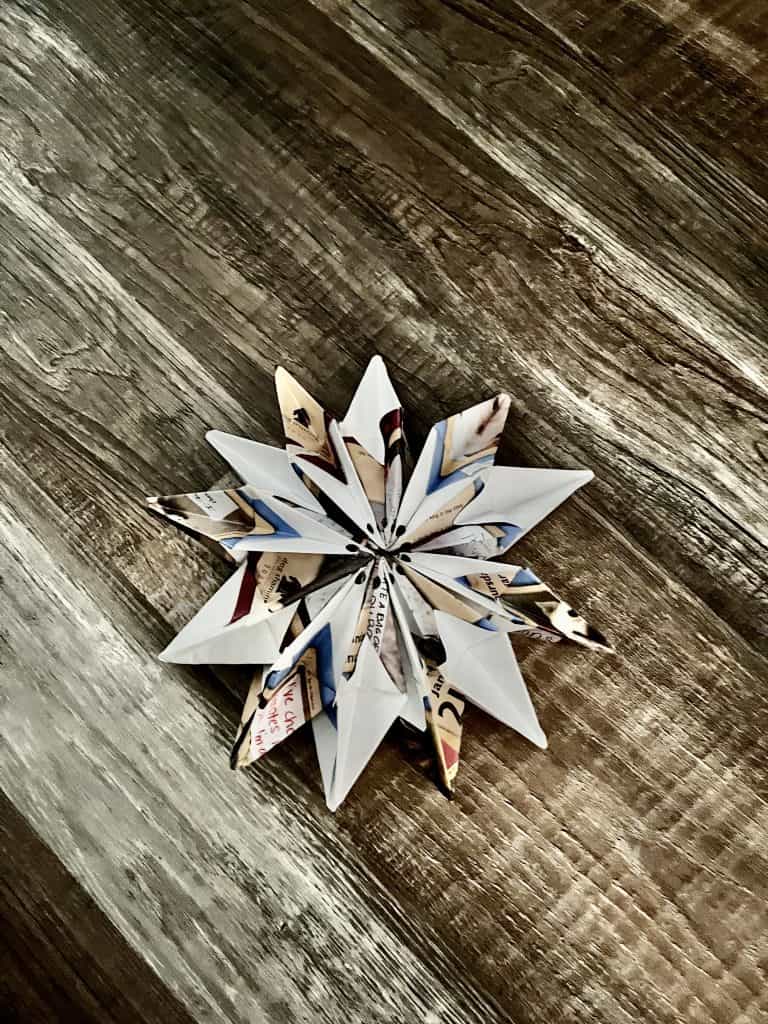
Hole punch a hole into ONE top of a section. Tie some twine into the hole. VOILÀ! You have now completed your own Easy Origami Ornaments.
Ways to create your Easy Origami Ornaments:
Ask each family member or friend to make one section and to write something on the paper before folding.
Write something special (special word, fun activity, etc.) on each piece before folding.
Make at a party.
See my other posts!
How to Make Clay Jewelry Bowls for Kids
How to Make Dot-to-Dot Pictures for Kids